
The Magic Behind a Barbie Cake
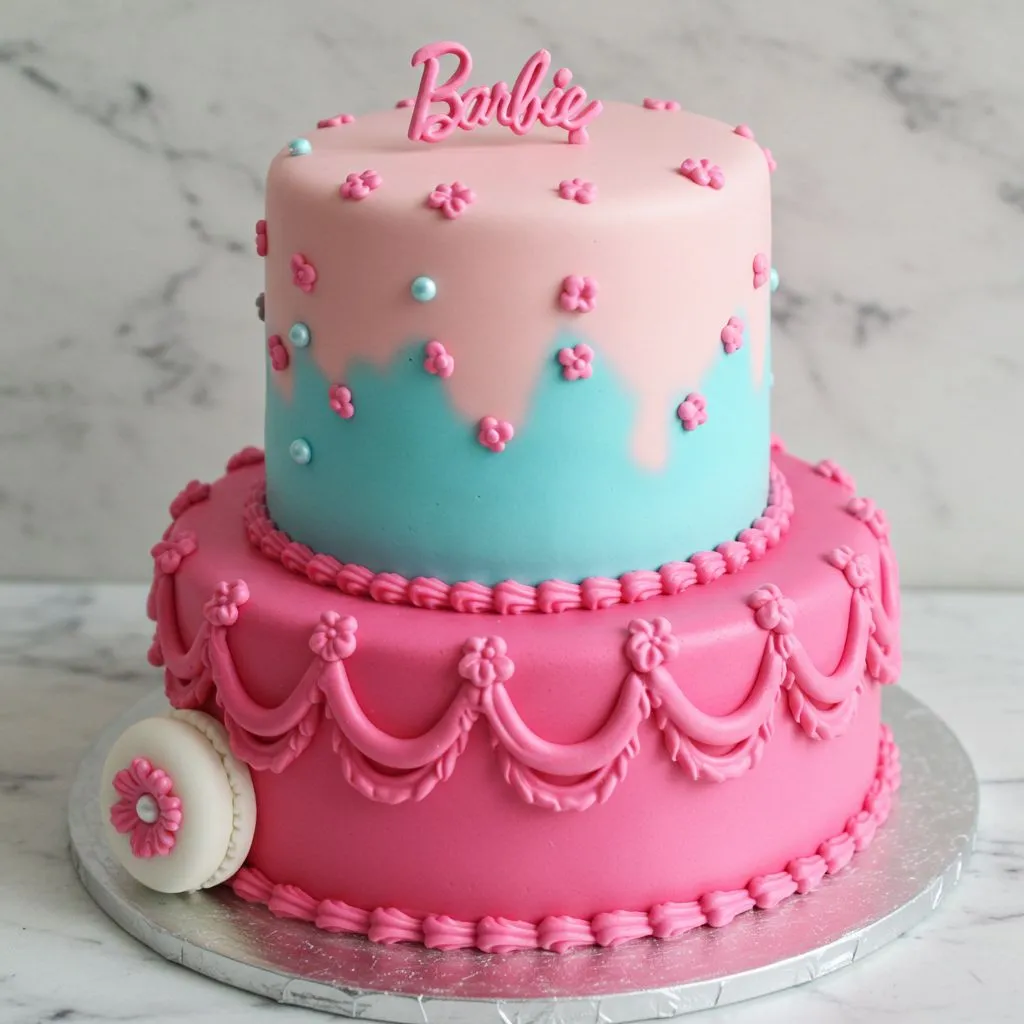
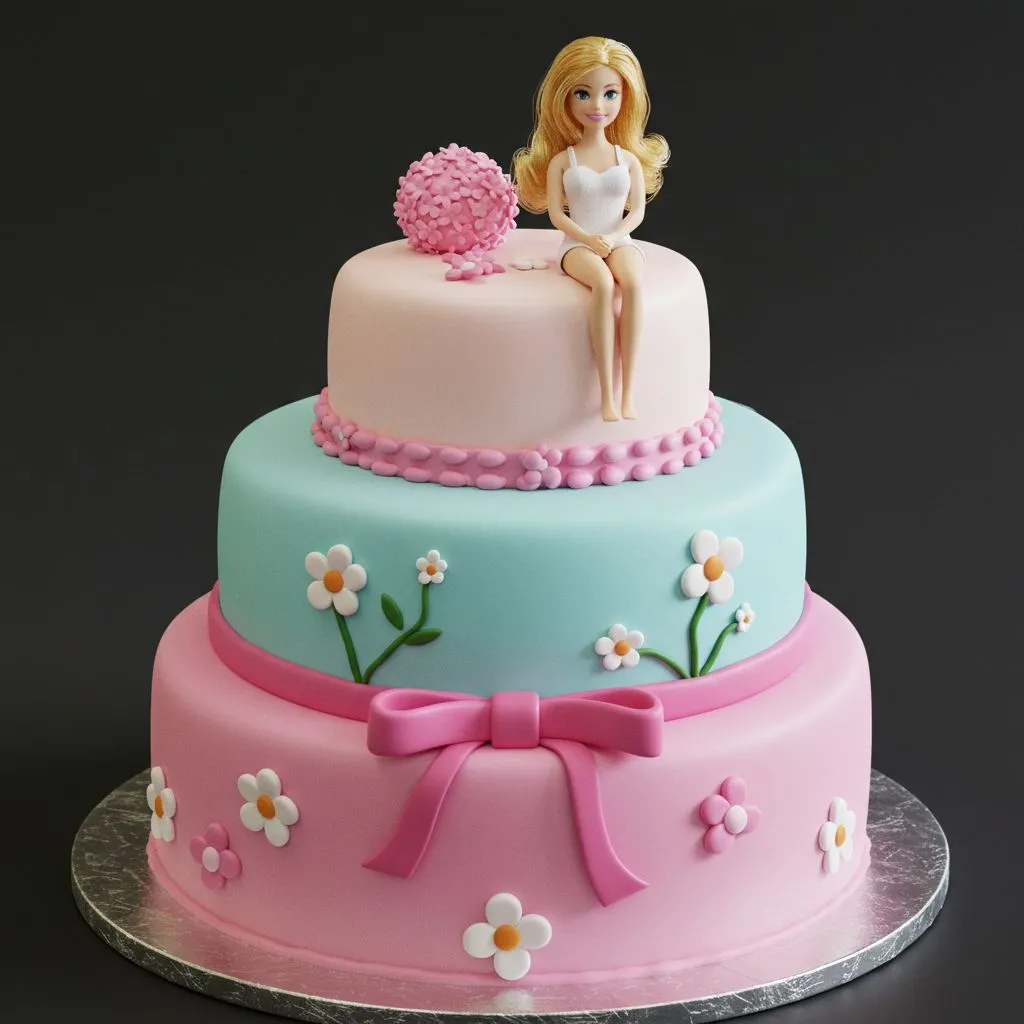
Every birthday tells a story, and for many little girls, the Barbie cake is the centerpiece of their fairytale. Imagine a beautifully decorated cake with a sparkling doll standing tall in the center, her gown made entirely of soft, sweet layers. It’s more than just dessert; it’s a memory frozen in frosting. Whether you’re a parent, a hobbyist baker, or planning your first themed cake, this guide is here to help you craft a Barbie cake that will truly steal the show.
What is a Barbie Cake?
The Origins of the Princess cake Craze
Barbie cakes have been gracing birthday parties since the 1960s. The idea started with parents inserting a Barbie doll into a dome-shaped cake and decorating it as a dress. Over the decades, this simple concept has evolved into an art form, with extravagant themes and intricate details.
Table of Contents
Why Barbie Cakes Are So Loved
- They’re visually stunning and capture children’s imaginations.
- You can customize them to fit any party theme.
- They create magical, unforgettable moments for your child.
Ingredients & Tools You’ll Need for a Barbie Cake
Basic Ingredients
| Ingredient | Quantity | Notes |
|---|---|---|
| All-purpose flour | 2 ½ cups | For a strong cake base |
| Sugar | 1 ¾ cups | Granulated |
| Eggs | 4 | Room temperature |
| Butter | 1 cup | Unsalted preferred |
| Baking powder | 2 tsp | Leavening agent |
| Vanilla extract | 2 tsp | Optional: almond too |
| Milk | 1 cup | Whole milk for moisture |
| Food coloring | As needed | Pink or pastel tones |
Essential Tools
- Barbie doll (or a cake-safe torso topper)
- Dome or deep round baking pans
- Cake turntable and board
- Piping bags with decorative nozzles
- Offset spatula for smooth spreading
Step-by-Step Barbie Cake Instructions
Step 1: Bake the Cake Layers
Start by baking two to three round layers and one dome-shaped layer. This will form the skirt. Ensure the layers are fully cooled before assembling.
Step 2: Prepare the Doll
Wrap the doll’s legs in plastic wrap or use a cake-safe torso. This keeps the doll clean and food-safe. If necessary, remove the legs so the doll fits neatly inside the cake.
Step 3: Stack and Shape the Cake
- Use a small circle cutter to make a hole in the center of each layer.
- Stack the layers using buttercream or ganache between them.
- Insert the Barbie gently into the center.
- Carve the sides with a serrated knife to create a flowing skirt shape.
Step 4: Crumb Coat the Cake
Spread a light layer of buttercream over the cake to catch loose crumbs. Refrigerate for 30–60 minutes so the frosting sets. This ensures a smoother finish.finish.
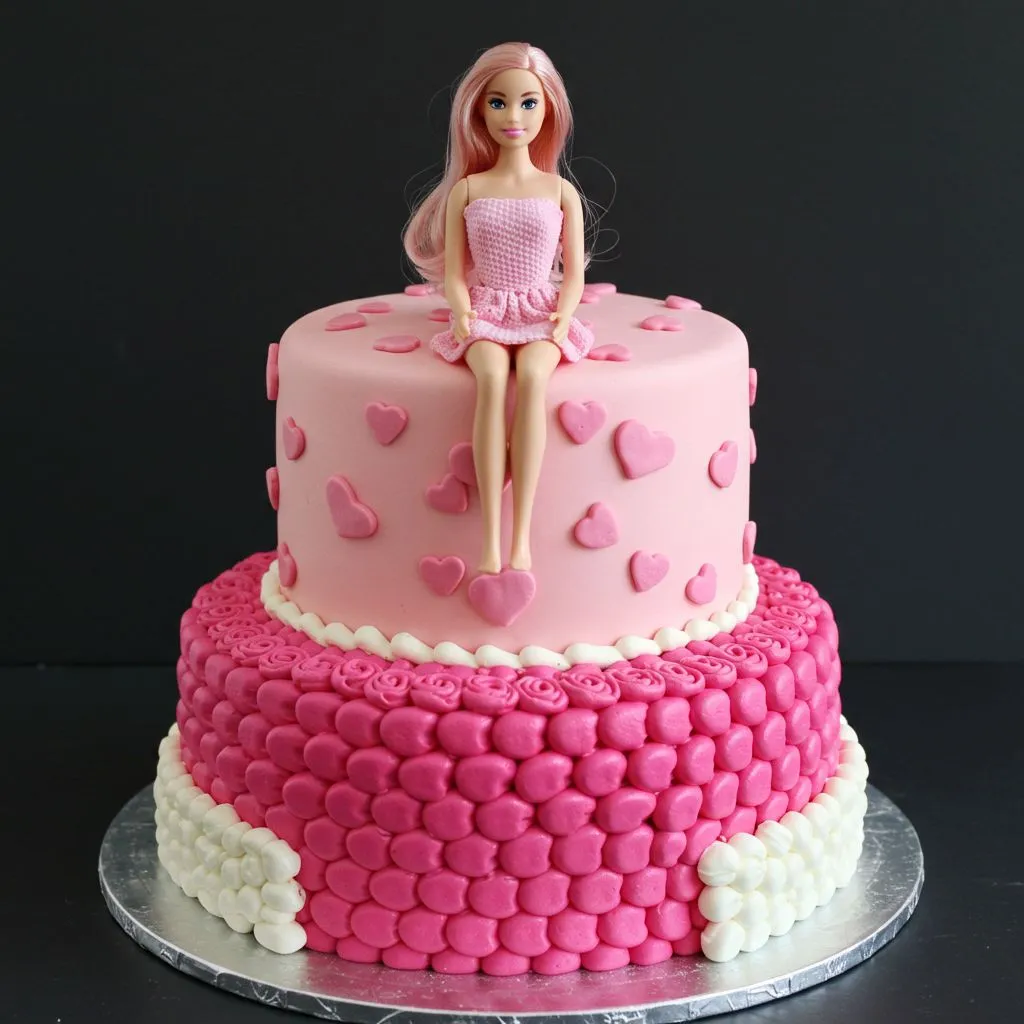
Step 5: Decorate the Gown
Now the fun begins! Use colored buttercream, fondant, or whipped cream to build your design. Popular options include:
- Ruffle patterns using star tips
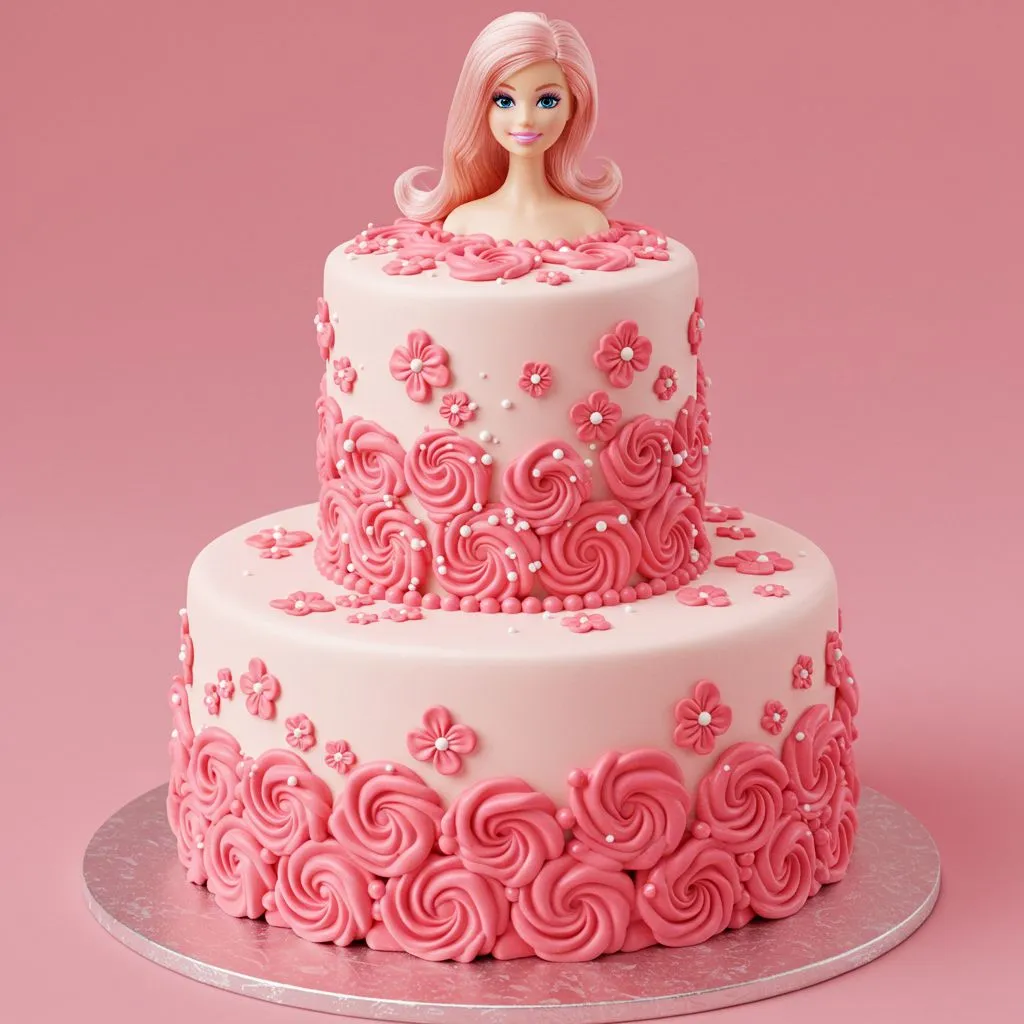
- Rosettes made with petal tips
- Fondant draping for an elegant look
Add edible glitter, pearls, or sugar flowers to elevate the glam factor.
Barbie Cake Design Ideas to Inspire You
Popular Themes
- Princess Barbie: Use gold accents, royal purple or pink, and a tiara.
- Mermaid Barbie: Aqua tones, fondant scales, and seashells.
- Ballerina Barbie: Light pink tutu-style piping with a flower crown.
- Frozen Barbie: Blue and white ombre, snowflakes, and shimmer.
Trendy Color Combos
- Pink and gold for elegance
- Lilac and silver for a dreamy look
- Rainbow ombre for bold flair
Customization Tips
- Add the birthday girl’s name in fondant letters.
- Include her age with a cake topper.
- Match the cake with party decorations for a cohesive theme.
Time-Saving Tips for Busy Bakers
- Bake in Advance: You can bake the cake 1–2 days ahead and refrigerate.
- Use Ready-Made Fondant: Saves hours of coloring and kneading.
- Pre-Color Your Frosting: Store it in piping bags until ready to use.
- Decorate with Store-Bought Accents: Think sugar flowers or glitter sprays.
How to Photograph Your Barbie Cake for Social Media
You spent hours on this masterpiece — now show it off!
Photography Tips
- Use natural light near a window
- Keep the background simple
- Take photos from different angles (top-down, side, close-up)
- Highlight textures, colors, and detailing
Great Hashtags to Use
- #BarbieCake
- #BarbieBirthday
- #CakeInspiration
- #DollCakeDesign
- #BakerLife
Final Barbie Cake Checklist Before the Party
Before the big reveal, make sure you.
Celebrate in Style
Now you know the secrets to crafting a Barbie cake that looks straight out of a bakery window. With a little planning, creativity, and these tried-and-true tips, your cake won’t just be delicious — it’ll be unforgettable. Whether you’re baking for your daughter, niece, or friend, you’re not just making cake. You’re making joy.
So go ahead. Whip out the apron, fire up the oven, and make your kitchen a Barbie wonderland.
Frequently Asked Questions (FAQ)
What is the best cake type for a Barbie cake?
A dense cake like vanilla sponge, butter cake, or pound cake works best because it supports the weight of the doll and holds shape during carving.
Can I use a regular Barbie doll in the cake?
Yes, but wrap the doll’s lower half in plastic wrap. Alternatively, use a cake-safe half-doll designed specifically for this purpose.
How long can a Barbie cake stay out of the fridge?
It can stay at room temperature for 4–6 hours if the frosting is butter-based. If using whipped cream or cream cheese, refrigerate until just before serving.
How do I transport a Barbie cake?
Chill the cake well before transport. Use a non-slip mat under the cake board and carry it in a tall cake box or container.
How far in advance can I decorate a Barbie cake?
You can decorate it one day in advance. Store it in the fridge and bring it to room temperature an hour before serving.